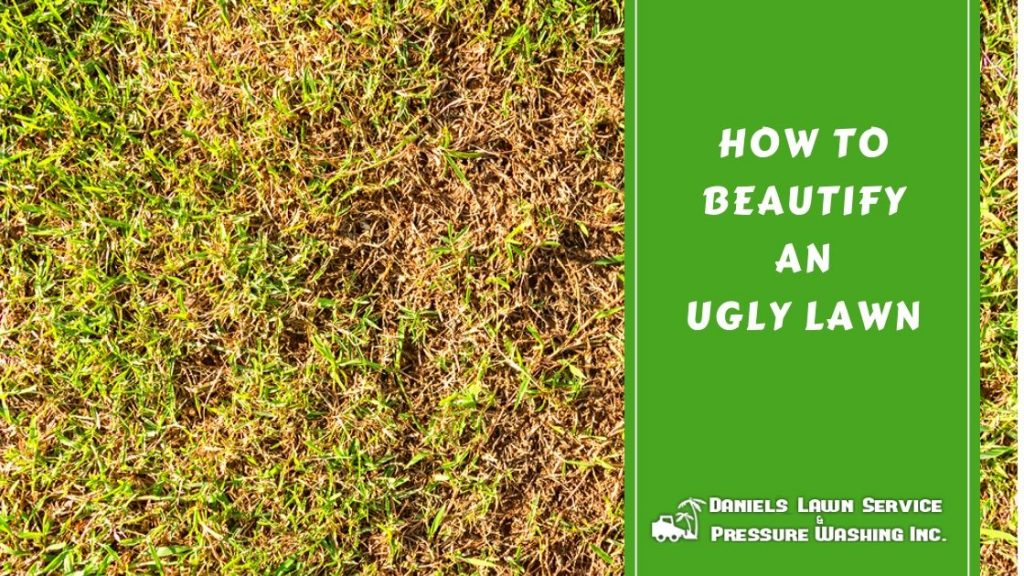
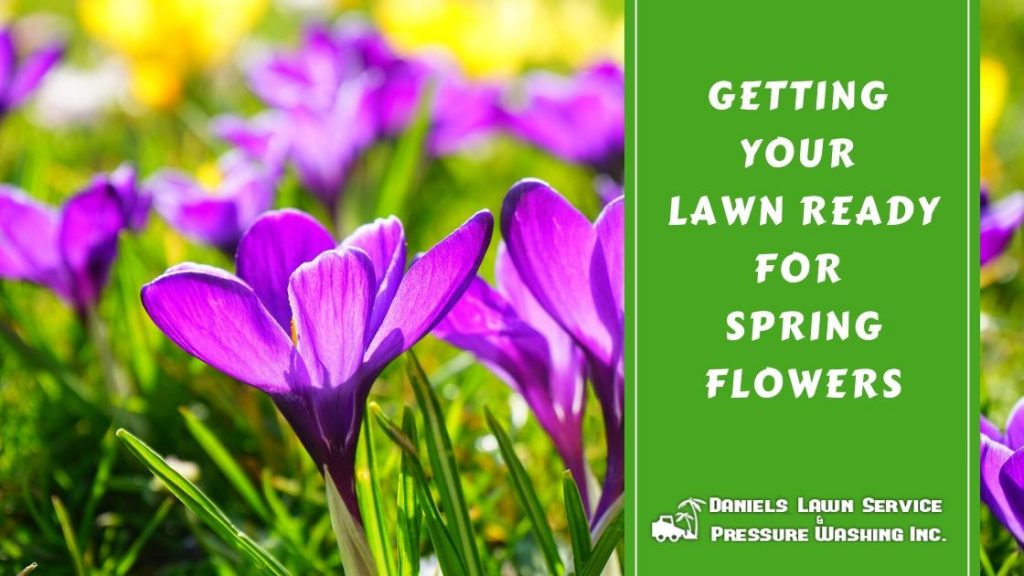
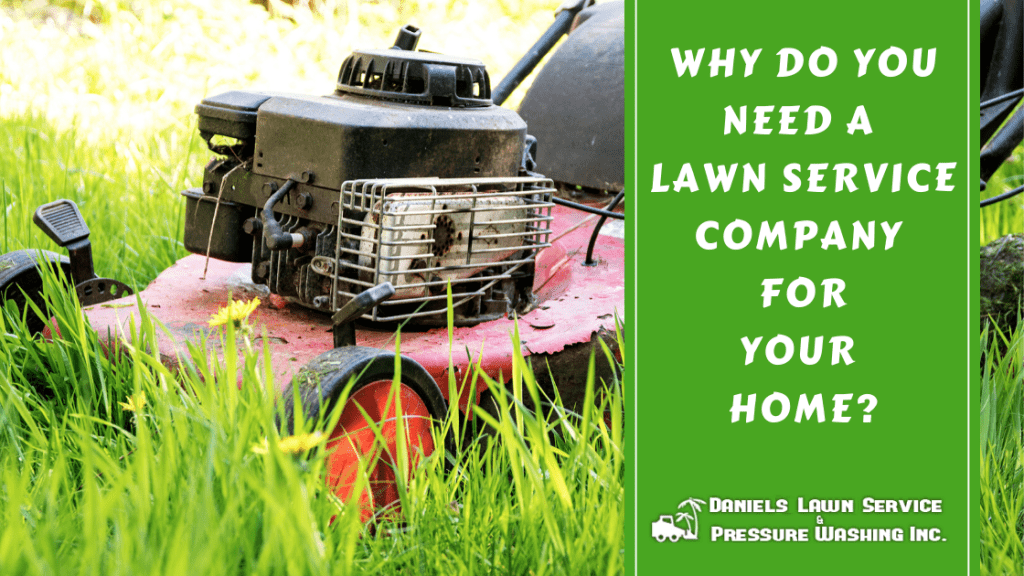
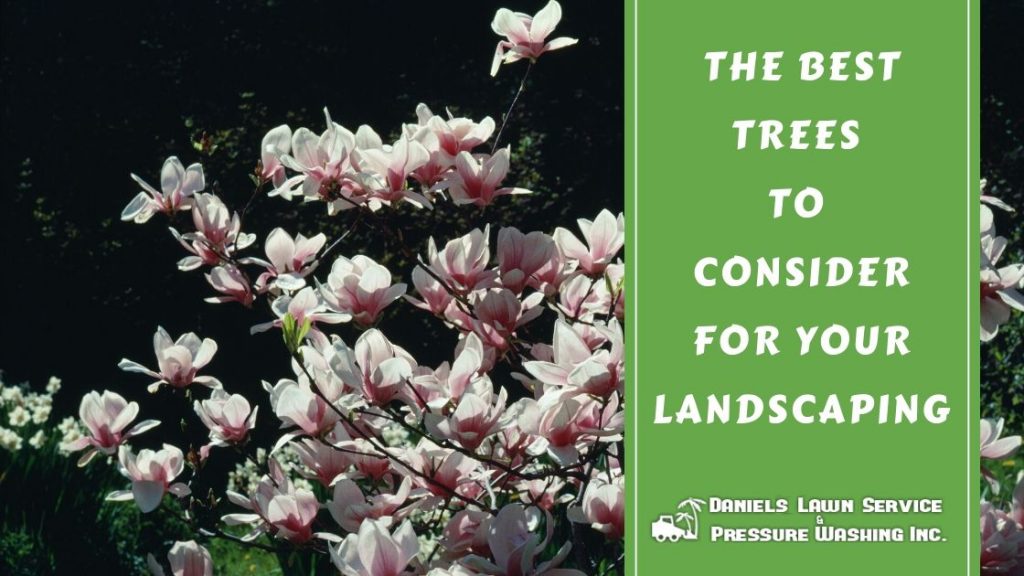
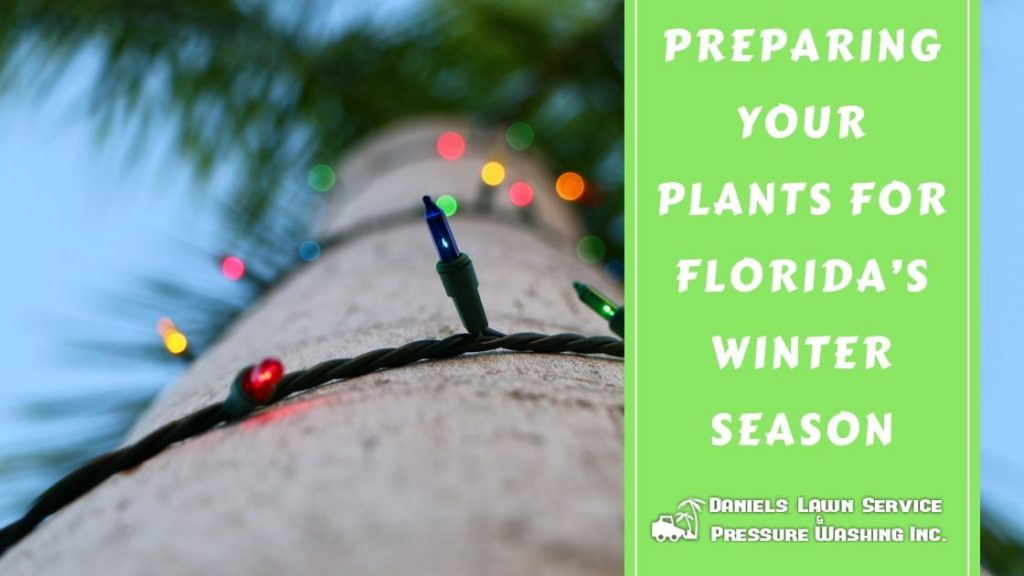
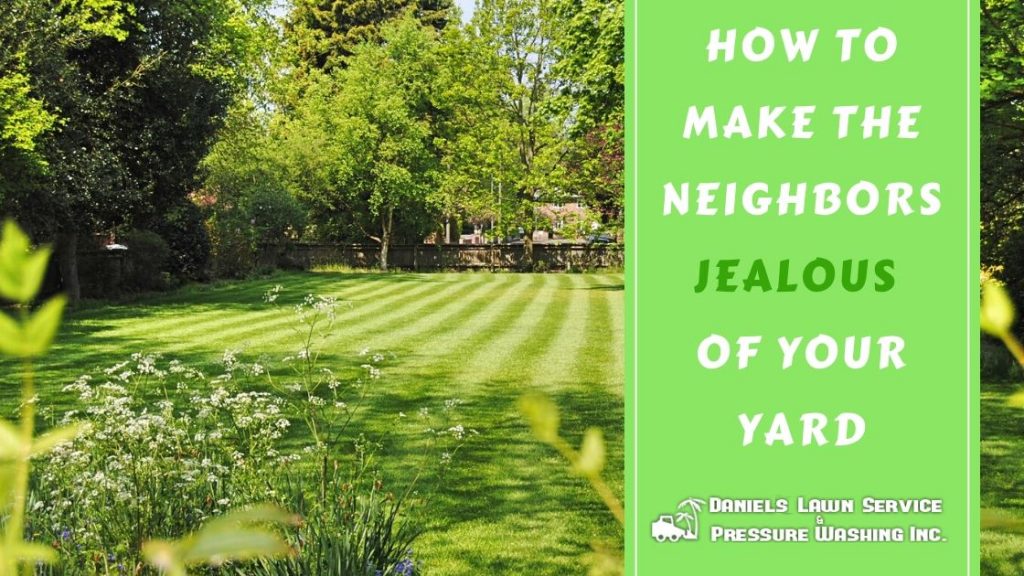
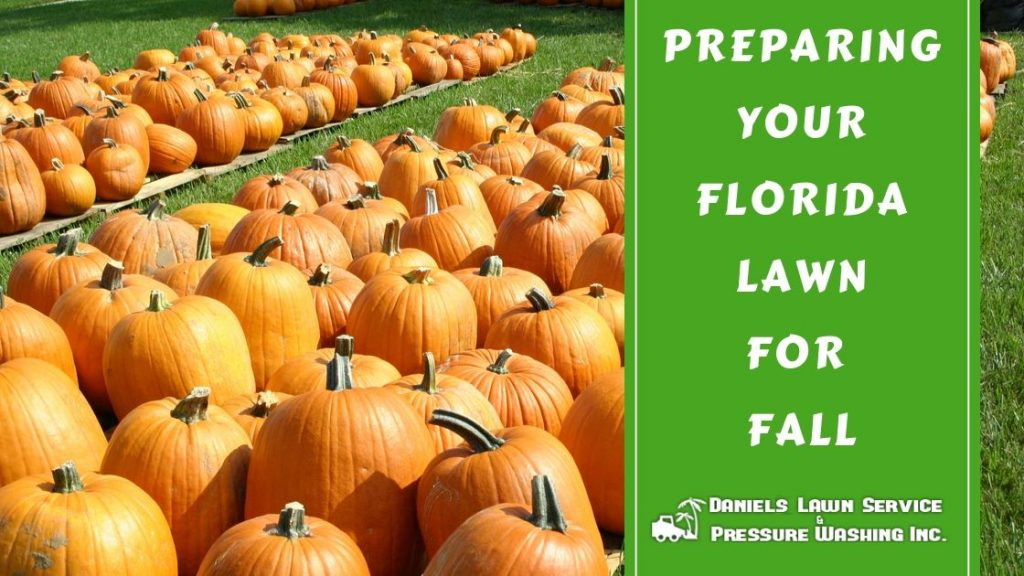
BLOG

Preparing Your Plants for Florida’s Winter Season
Just because snow is an extreme rarity in Florida doesn’t mean that you don’t have to worry about your plants
Perfectly cut lawn
When you own a home, you naturally want to take thorough care of its appearance, and your yard is no
A grassy field in Fall with pumpkins
Now that the rainy season of summer has passed us, it’s time to prepare your Florida lawn for the drier
A Florida lawn is watered
With Florida’s warm subtropical climate, lawn care is required year-round. It may seem difficult to keep up with proper lawn
a tree stump
What Is the Best Way to Remove a Tree Stump? Last month, we took a look at the best way
Man cuts down a tree with axe
What Is The Best Way To Remove a Tree? Removing a tree from your property is not an easy task
pressure washing service
What is the Right Way to Do Residential Pressure Washing? When performing your regular home maintenance, consider when was the
Pond Landscaping
How to Add a Pond to Your Landscaping There is something special about having a backyard pond, a sort of
 Tropical Plants Perfect for Your Florida Landscape What is your first thought at the mention of our great state of Florida?

Preparing Your Plants for Florida’s Winter Season

Just because snow is an extreme rarity in Florida doesn’t mean that you don’t have to worry about your plants and your lawn during the winter. Cold temperatures and less rain can have detrimental effects on subtropical plant life. Thankfully, there are a number of tips to help keep your Florida lawn and garden healthy during the brief chilly months. While we previously discussed how to prepare your Florida lawn for fall, we now move on to winter!

Preparing Your Plants for Winter

Cold for Florida plants is very different from cold for more Northern plants. The Sunshine State generally sees a wide range of winter temperatures from 40 to 70 degrees (F), peaking around January and February. While some rain may fall in the winter, it is usually followed by a windy cold front, which poses the greatest threat to your plans in the wintertime. Making use of plants that flourish throughout the year is key to expert landscaping. For all plants, though, surviving the winter depends on placement, watering and covering.

Minimize the effects of cold weather fronts from the north and west by locating tropical plants to the south and east side of your house, fence or sturdy hedge. Protect palm trees with the shielding of bigger, more cold-resistant trees, and generate insulation by placing small plants below taller trees. Prior to a hard-hitting cold night, it is crucial to water your plants in order to preserve them from dry winds and warm the soil. Watering your plants overnight can actually damage them, so it is especially important to water your plants in the morning.

Covering your plants is another way to shield them from harsh winds and cold temperatures. However, only certain materials will be effective to protect your plants. Your best option is to use well-insulated frost cloth, which can be purchased from home centers and nurseries. Decent covering alternatives include thick blankets or quilts, but plastic should never be used, as it can actually harm plants. Completely cover plants with the frost cloth by securely fastening it to the ground, and tie up young palm fronds while covering the head of the palm.

You Can Grow Crops in Winter?

It’s true that Florida’s relatively chilly winter nights can potentially damage plants if necessary precautions are not taken. Yet many vibrant plants and varieties of crops can still flourish in the overall fairly mild season. Prepare for cold weather and ensure your Florida plants stay healthy with the following measures:

  • Fruit trees — Citrus trees should be fertilized and examined for scab disease. Now is also the time to plant new deciduous fruit trees (Asian pear, plum, peach) so they will be ready for the spring, and already existing deciduous fruit trees should be fertilized and pruned.
  • Flowering trees — January is an especially great time to prune non-spring flowering trees and shrubs, in addition to your deciduous fruit trees. Roses and other shrubs should be fertilized early in the year, followed by fertilization and re-mulching of the beds to keep in moisture.
  • Palms — Palm trees are particularly susceptible to damage from cold weather. Closely examine your palms during steep temperature drops and frost, treating them for cold damage if dead branches or leaf tissue are found.
  • Flower beds — Keep a variety of annuals in your garden that are tolerant to cooler weather, such as petunias, pansies and snapdragons. Plant bulbous flowers like amaryllis in the winter, taking extra care to lay down plenty of mulch and regularly water them.
  • Camellias and azaleas — Plant your camellias in January and your azaleas in February when they are in bloom as a way to brighten up your landscaping in the winter. If you choose to add azalea bushes to your yard, be sure their blooms don’t trigger an allergic reaction.
  • Vegetables — While you will need to keep a close watch for freezing temperature drops and cover your garden beds as necessary, many vegetables will still grow abundantly in Florida from the fall and through the winter. Ideal winter vegetables for your garden include carrots, cauliflower, potatoes and cabbage. As early as February, planting seeds for spring vegetables can begin, but it will still be important to pay attention to your seedlings in the cold temperatures.

What to Do When It Gets Really Cold

The best way to prevent damage to your plants during the winter is to prepare in advance, as previously discussed. Properly covering your plants on particularly cold nights is essential as part of this preparation.

However, what do you do when it gets really cold, and your plants are damaged? First, while it may seem tempting, do not prune your plants after damage! Pruning will only cause the plant to continue to grow, which can cause even worse damage the next time temperatures suddenly drop. Letting your damaged plants be as they are for the time being will also improve insulation for the healthy parts until the winter passes. It’s also important to not fertilize plants damaged from cold, as this will also cause new growth.

There are a number of signs to look for to determine if your plant may have experienced damage from the cold. Tropical plants like crotons often drop a few to all of their leaves in cold weather, although they will regrow in the spring. Tan, brown or black wilted leaves can be a sign of foliage burn. Leave the damage leaves until the spring when you can cut them off. Finally, fungus can also be a sign of cold damage, which can often be detected through brown spots on leaves. Use appropriate fungicides to treat the infected plants, and spray your plants at the beginning of winter to improve resistance to fungi.

Unsure if you plants are dead or still alive? Try gently scratching the stem to see what color appears under the scratched surface. Green is good, but any color aside from green could indicate a dead plant.

Prepare Your Landscaping for Winter with an Expert

The best way to ensure your lawn, garden and landscaping stay healthy during the winter in Florida is to enlist the help of an expert. Daniel’s Lawn Service & Pressure Washing provides experienced landscape design and lawn care services across Central Florida. Contact us today to schedule your appointment with us!

How to Make the Neighbors Jealous of Your Yard

When you own a home, you naturally want to take thorough care of its appearance, and your yard is no exception. Seeing how your neighbors maintain and update the outside of their homes can be a great motivator for the entire neighborhood to keep up the beautifully designed facades and perfectly manicured lawns. The unspoken friendly competition leads to welcoming environments, but it only takes one household lacking in its appearance to ruin the aesthetic of the entire bock. This is even more true for a Florida lawn, which needs to be well maintained year-round in our subtropical climate.

If it’s been a while since your yard received the TLC it deserves, it may be time to give it some extra love and become the (friendly) envy of your entire street. However, the question then remains — should you care for your lawn yourself, or leave it to the professionals?

You Could Just DIY, but…

DIY lawn care may seem like the easiest way to achieve the lawn of your dreams. After all, if you’re doing something yourself, then surely you should see the exact results you want, right? Unfortunately, DIY lawn care projects often don’t measure up to expectations. Here are some of the potential pros and cons to handling your own lawn maintenance and landscaping:

The Pros:

  • Initial cost — It’s true that you may save on the initial costs of maintaining your lawn, as you will be saving on the cost of labor and only paying for what you think your lawn needs. Over time, though, inexperience may lead to needing to purchase extra tools and materials which you may not even need or may not even be sure how to use.
  • Your own hard work — Of course, a natural sense of pride comes from taking care of your own lawn, especially when the hard work pays off with the appearance you had hoped to accomplish. Working on your yard all on your own can also impress your neighbors. When things go wrong, though, frustration and disappointment can set in.
  • Physical activity — Finding the time to exercise can be difficult as an adult with a busy career and a family. Mowing your lawn and taking care of your landscaping is a great way to get in a healthy amount of physical activity while still being productive. But, beware of pushing yourself too hard and causing injury!

The Cons:

  • Long-term cost — As previously mentioned, costs may initially be low when you first start handling your own lawn care, but that can quickly change over time. Making a mistake and fixing the problem can become costly, and you may find you need to purchase more expensive higher-quality tools that you may lack the skills to properly operate.
  • Below-satisfactory results — Reading DIY lawn care articles online or watching YouTube videos can certainly help, but they can’t completely make up for years of skilled landscaping experience. You may soon find yourself struggling to get a healthy lawn while fighting off seasonal weeds that just won’t seem to go away, no matter which fertilizer you try. You may end up working twice as hard, only to achieve results below your expectations.
  • Time consumption — You may not monetarily be paying for labor when you take care of your lawn yourself, but you will certainly make up for the saved costs with your own time. Lacking professional lawn care experience can lead to longer hours spent caring for your lawn, learning to use new tools, visiting the hardware and lawn care store frequently, cleaning up, etc.

With all these factors in mind, it will likely save you the time, money and stress to achieve the immaculate yard of your dreams when you hire a professional lawn care company. Not only will you likely receive much higher quality results for your lawn from skilled and professional lawn care experts, but you will also be able to enjoy an increase in your amount of free time. Personal safety is another benefit, as the physical demands of lawn care may be too much for some people. The cost may seem more up front, but hiring a professional lawn service company can keep your costs low and your satisfaction high over time.

What to Look for in a Lawn Service Company

Should you decide to leave it to the pros, choosing the right company is the next step. You will likely have many local businesses to choose from, but how will you know which ones you can trust?

Pay attention to these things to look for in a lawn service company:

  • Reputation — Online reviews on a lawn care service company’s Google My Business page or Yelp account can provide a helpful insight to the overall quality of service. While it’s important to take online reviews with a grain of salt due to customers often only leaving extremely positive or extremely negative reviews, reading through them can still be helpful. An overwhelming amount of negative reviews can be a red flag, for instance. It also helps to ask the members of your community which lawn care company they would recommend and why. Successful small business thrive on word-of-mouth marketing!
  • Licensing and insurance — Going with a lawn service provider who isn’t licensed and insured can put yourself at serious risk for liability if their employees become injured while working in your yard. A licensed and insured lawn company will be responsible for employee injuries, and they will be able to provide coverage in case your property is damaged. It also shows how serious a lawn service company is about their work.
  • Professional or trade organization membership — The next step showing dedication lawn care and landscaping is if a lawn care company is a member of a professional or trade organization. These memberships require members to adhere to high industry standards, as well as to continually seek out professional learning opportunities.
  • Contracts — Contracts are understandably common practice in the lawn care industry. However, be wary of companies pressuring you into long contracts without the option to negotiate a trial period, a shorter contract, or to even forego the contract altogether. The best lawn care companies know their high-quality service will make you a return customer, regardless of a contract.
  • Customer service — You have a busy life and can’t afford to be waiting on a lawn care company all day, whether to simply make an appointment or to receive services. Customer reviews can be a helpful way to gauge customer service quality, and you can also check by simply seeing how quick and courteous a company is to respond to your phone call or email.
  • Equipment maintenance — Lawn care companies dedication to professional service are serious about the quality of their mowing blades, as this makes a huge difference in the appearance of a lawn after it is mowed. Be sure to ask prospective lawn care companies how often they change or sharpen their blades. In general, they would be changed or sharpened after no more than 10 hours maximum of yard work.

Check Out Everything Else We Can Do

At Daniel’s Lawn Service & Pressure Washing Inc., we are dedicated to providing the highest-quality professional service across Central Florida. From routine lawn maintenance to experienced landscape design, we can create the perfect outdoor environment for relaxing, entertaining or spending time with your family. Our experienced and licensed professionals offer a variety of other services, such as tree trimming, tree installation and tree removal. Contact Daniel’s Lawn Service today to learn more about our lawn care, landscaping, tree work, pressure washing services, and more!

Preparing Your Florida Lawn for Fall

Now that the rainy season of summer has passed us, it’s time to prepare your Florida lawn for the drier months ahead. Fall in Central Florida means less rain, more sun even with shorter days and sustained warm temperatures with less humidity — a perfect mix for quickly drying out your lawn if you aren’t careful. Prevent potential lawn disasters by reading our tips on how to prepare your Florida lawn for fall!

When Temperatures Drop

It’s very likely that St. Augustine grass makes up your Florida lawn. This grass grows especially well year-round in subtropical climates. However, it still needs special care and attention in order to stay that luscious green throughout all seasons. October in Florida still sees many warm days on average, but soon the cool fronts will start really bringing a sense of autumn. Prepare your lawn in the fall so it will last through winter.

Maintain your lawn in the fall by keeping up your regular mowing practices as long as your grass continues growing. Cooler temperatures will inevitably begin to slow down the growth rate of your grass until it becomes dormant for the winter, which is when you can start mowing less frequently. You can learn more about proper mowing techniques in our previous blog, “Weeding and Feeding Your Florida Lawn.”

Despite a decrease in the frequency in which you need to mow your lawn, it’s still important to make sure it is watered periodically, especially when the weather has been dry, warm, and/or windy. Prepare for weeds by applying pre-emergent herbicides to your lawn once the average soil temperature of your area drops to about 70 ºF. Afterward, you can apply post-emergent herbicides as the need arises. Thankfully, a lawn with St. Augustine grass is not likely to experience any threatening insect activity during the cooler seasons.

Should You Seed in Colder Temperatures?

Overseeding is the practice of planting a type of temporary grass over your current lawn in order to help it maintain its lush appearance year-round. For Florida lawns, ryegrass is especially common for overseeding due to its cost-efficiency and quick growth rate.

Prepare your lawn for overseeding by first raking and mowing your lawn. Afterward, you can sow it once high daytime temperatures have reached the mid- to low-70s. If you choose to overseed your Central Florida lawn, you will need to water and mow it with the same frequency as if it were spring. The warm temperatures of actual spring will naturally make the grass used for overseeding die, thus allowing your primary grass to regain its thickness once again.

Testing Soil is Necessary

Fertilizing is the last important step to ensuring your Florida lawn stays healthy in the fall and winter. However, you can’t put just any fertilizer down on your grass and hope it will do the trick. Every lawn has specific needs depending on your soil, location and lawn care practices. This is why it is necessary to first test your soil before purchasing a grass fertilizer. Testing your soil will reveal the specific nutrients it needs, as well as how much of those nutrients are needed to stay healthy.

October is recommended as the latest time of year you should fertilize your lawn in Central Florida, as waiting too late into the fall or winter could make your grass too sensitive to cold temperatures. The only time you should fertilize your St. Augustine grass later than October is if you choose to overseed your lawn, generally once in December and once in February before spring returns.

A fertilizer high in potassium is likely to best for October, and excess nitrogen in fertilizers should be avoided when possible in order to keep large patch fungi at bay. However, every lawn’s soil will be different and will require some variation to these generalizations. Testing your soil will help you save money and cultivate a healthier lawn at the same time.

Your Central Florida Lawn Experts

Our Central Florida lawn care experts with Daniel’s Lawn Service and Pressure Washing Inc. can help prepare your lawn for the fall and winter months ahead. See our full list of lawn care services that will keep your lawn beautiful and healthy all year long, and call us to schedule your lawn care appointment!

Weeding and Feeding Your Florida Lawn

With Florida’s warm subtropical climate, lawn care is required year-round. It may seem difficult to keep up with proper lawn care throughout the year, but there exist a number of simple, easy measures you can take to maintain a healthy lawn. Learn how to cultivate your green thumb with these tips and tricks for achieving your very own vibrant Florida lawn.

Proper Tips for Getting Your Lawn Thick

An unhealthy or dying lawn is instantly recognizable — the grass is thin and stiff, there may be visible dry spots and it has lost its vibrant green. While a dry spell in the weather combined with the intense Florida sun can naturally cause periods of dryness in your lawn, there are still ways to minimize the damage and keep up its luscious appearance. Caring for your lawn can be a breeze, no matter if it consists of St. Augustine grass or any other popular Florida grass.

Some important tips for getting your lawn thick include:

  1. Check the Soil — A lawn can only be as good as the soil where it grows. Be sure to regularly test your soil to discover the specific needs of and any potential causes of problems with your lawn. Factors tested for and revealed in a soil test include pH levels and any other conditions affecting the current growth of your lawn. Getting a chemical understanding of your soil can direct you on the best plan of action for improvement. For example, a low pH level could possibly indicate the need for lime or other elements that can improve how well your lawn soaks in the necessary nutrients.
  1. Start Overseeding — Overseeding is especially important to improving the thickness of your lawn. This is done by sowing grass seed into the grass that is already planted in your lawn, which causes new grass to sprout in between any available space. Florida lawns should be seeded in the late spring to ensure optimal growth.
  1. Correctly Fertilize — Florida is no stranger to rainfall. While it can be a blessing for bringing essential water to your lawn, the rain can also drain the necessary nutrients in your soil that your lawn needs to thrive. Start a regular fertilization schedule in order to ensure that those important nutrients are not lost. There are different types of fertilizers that you can use, depending on the needs of your lawn. Fertilizer including nitrogen is a must-have to properly care for St. Augustine grass, in particular. 
  1. Learn Proper Mowing Techniques — Your lawn certainly needs to be mowed, but it needs mowing on its own schedule — not yours. When it comes to frequency, you should mow your lawn as-needed in order to keep the grass at an appropriate height while also not trimming over a third of its height at one time. Thus, the rainy season may require more frequent mowing, and the dry season will require less. St. Augustine grass should be maintained at a height of about 3.5-4 inches. As for the mower’s blade, the sharper the better in order to prevent stress on the grass and dulling of its green color. Improve the thickness of your lawn by routinely changing your mowing pattern.

Water Is Crucial

Water is the building block to all life, and your grass is no exception. However, you need to be careful not to over-water or under-water your lawn. Both actions can hinder the natural growth and thickness of your grass. When it comes to St. Augustine grass, you will need to pay special attention in order to know when it needs watering, since it doesn’t require a regular watering schedule.

Signs that your St. Augustine grass may need water are when it shows hints of blue or if it stays flat when stepping on it (as opposed to springing back up). During the rainy season in Florida, you won’t need to water your grass as often. However, when watering is needed, deeply irrigate your lawn about 3-4 inches early in the morning hours. This will help your grass grow deeper, stronger roots that will lead to thicker, fuller grass.

Dealing with Weeds

Not only do weeds look unpleasant in your lawn, but they also take away from the nutrients your grass needs to survive. Weeds should be taken care of as soon as they appear any time of year, but early autumn is especially a great time to start weeding your lawn.

It’s important to remember a few key practices for dealing with lawn weeds:

  • First, you need to be careful not to spray your lawn with weed killer immediately after mowing while also not too soon before the next time you mow. This will ensure that your grass will not be affected by the herbicides intended for the weeds. 
  • Crabgrass can best be kept at bay with an ongoing lawn care plan, which should include regular fertilization, pruned shrubs and trees, proper watering and consistent mowing.
  • Carefully read the labels of the weed killers you use on your lawn. For St. Augustine grass in particular, herbicides that include MCPA and Bromoxynil are generally safe, while Dicamba-based ones are not safe to use. Be sure to research the types of herbicides that are most appropriate for the grass type of your lawn.
  • Do not water your lawn too soon after applying weed killer, as this will make the herbicide settle more deeply into the roots of your grass.

Your Florida Lawn Care Experts

If you want to make sure your lawn is properly taken care of, then look no further than Daniel’s Lawn Service and Pressure Washing Inc. Our experienced lawn care and landscaping professionals specialize in treating the needs of Florida lawns. Learn more about our lawn care services, and contact us to schedule your next lawn care appointment! 

What is the Best Way to Remove a Tree Stump ?

a tree stump

What Is the Best Way to Remove a Tree Stump?

Last month, we took a look at the best way to safely remove a tree that is small and does not require a ladder. Today, we follow up with the next step in the tree removal process: removing a tree stump. While it is possible to remove small trees on your own, stump removal is a very different process. Let’s take a look at why you need to remove a tree stump and why it is important to leave it to professionals.

Reasons Why a Tree Stump Needs to Go

There a number of reasons you should remove a tree stump from your lawn, including:

  • Appearance — The most noticeable reason to get rid of a tree stump is its unsightly appearance in your lawn. It can definitely detract from that well-manicured aesthetic you are trying to achieve.
  • Insects — A stump will slowly rot away in your yard, attracting pests such as termites, beetles and ants. These insects can make their way to your home and cause serious wood damage.
  • Hazards — Particularly for families with young children, tree stumps can be a serious hazard for tripping over while playing in the yard. If someone gets injured while on your property from falling over a tree stump, you may also be held liable for their injuries. Additionally, small tree stumps can damage your lawn mower if hit by accident.
  • Tree Sprouts — While the main part of the tree is gone, the stump and roots can still cause new tree sprouts to spring up. New tree shoots can act almost like weeds, as they can require large amounts of chemicals to eradicate and can harm neighboring plants by taking away nutrients.
  • Obstacles — On the extreme end, tree stumps can be hazardous. On the more moderate end, they can simply be annoying obstacles to work around when caring for your lawn.
  • Space — Not only do tree stumps disrupt a beautiful landscape design, they also take away from space that could be used to optimize the fun and function of your yard. Think about the extra play space for children, space for a garden, or even space for seating.

Why Leaving It to the Pros Is Important

Cutting down a tree is one large project in itself. Removing a stump is another big undertaking. Attempting to remove a tree stump by yourself can result in more damage to your lawn, the tools you use and even yourself—all without even managing to remove the stump and tree roots. Tree removal professionals have the proper equipment and experience to successfully, efficiently, and safely remove all tree stumps.

One tool a professional tree stump removal specialist may have is a stump grinder, which will have your stump ground up and gone within just a few hours. Other methods a professional may use include rotting and burning the tree stump. This is done by filling drilled holes in the stump with potassium nitrate, followed by the tree professional burning the stump a few days later, allowing for quick and easy breakdown and removal of the stump.

Regardless of the method you prefer, you should always contact professional tree and stump removal specialists for tree stump removal. The process will ensure a thorough removal without the risk of injury or damage.

To Remove it Quickly and Safely, We Can Help

Daniels Lawn Service & Pressure Washing Inc. is your top choice for tree removal services in Central Florida. Our trained professionals know how to quickly and safely remove trees, tree stumps and tree roots. Once your tree and tree stump is taken care of, consider us for your other lawn care and landscaping needs. Contact us today to schedule your next appointment.

The Best Way To Remove a Tree

Man cuts down a tree with axe

What Is The Best Way To Remove a Tree?

Removing a tree from your property is not an easy task to check off of your to-do list. In fact, tree removal can take significant time and be very dangerous. Unless you have all of the necessary tools and adequate time to undertake the removal, it is a good idea to keep this task on the backburner. Keep reading to learn why a tree may need to be removed, the equipment you will need to remove it and when you should hire a professional.

Reasons why a tree needs to go

The most common reason you may consider removing a tree from your property is landscaping. Homeowners are very aware of how they utilize their space, and what may decrease the property value. From an aesthetic standpoint, you may want more space in your yard, or have a tree that requires frequent maintenance. Similarly, a tree may be too tall, or growing too wide for your liking. Although it can take years to notice, depending on size, a tree might even be dead or dying.

Safety is another reason to remove a tree. You can be held liable for injury due to a falling tree or tree limb. Inclement weather is often the cause of uprooted trees or broken limbs and branches, which can be blown in any direction. Florida’s hurricanes, tropical storms and severe summer thunderstorms increase the risk of an unhealthy tree toppling over and crashing through your (or your neighbor’s) roof or parked vehicle.

The root systems of trees – which can be expansive – often aren’t considered as a potential problem. They can cause significant damage to underground pipes and wires if not regularly inspected.

The equipment you will need

As with any sizable project, safety comes first. Make sure you have all of the following safety equipment to prevent common tree removal injuries:

  1. Helmet
  2. Safety glasses or a face shield
  3. Respirator
  4. Ear muffs or ear plugs
  5. Heavy-duty clothing and fitted gloves with adequate grip
  6. Work shoes

Cutting down a tree

Before you get started, ensure that the tree you are cutting down can fall in any direction without damaging property or causing injury. If it can not, do not attempt to cut the tree down. As much as you may think you can control the angle at which a tree falls, you can not. 

Outfitted in all of the appropriate safety equipment, you can begin. These instructions are for a tree with a diameter up to about 10 inches and height of not much more than 20 feet. Within this size, the tree can be cut down at the base. You shout cut the tree on the side that it would naturally fall to, which can often be determined by a lean. Once you know which way it will fall, you will then determine two escape paths.

The first cut you will make is an undercut, or a v-shape at a 90 degree angle. Cut about one-fourth of the tree’s diameter in depth, but not clear through. The second cut is the back cut, which will take place on the opposite side of the undercut. You will cut straight through the tree, at least two inches above the hinge of the v-shape. Any lower and it could reverse the role of the cuts, at which point you lose control of the fall.

After the tree has fallen and is stationary, you can return to it. At this point you will begin limbing. Starting from the bottom of the tree, remove branches down the side of the tree opposite of you. Standing on the opposite side of the tree that you are cutting will reduce your chance of injury. 

Once one side is complete, stand on the bare side of the tree and do the same to cut the remaining branches. When all of the branches are removed, you can cut the tree down to shorter lengths for use in a fireplace or for disposal. Be careful not to run your chainsaw into the ground in the process. Instead, cut halfway through the tree before rolling it over to complete the cut. 

As a rule of thumb, do not attempt to remove a tree that requires the use of a ladder. A ladder is the wrong tool for the job, and is one of the most common and dangerous mistakes homeowners can make in tree removal. If you need to cut any part of the tree and find that it’s too tall for you to reach on your own two feet, the use of guide ropes and mechanical equipment is required. Should this be the case, the tree should only be removed by a professional. Without proper equipment or experience, tree or branch removal can lead to serious injury or even death.

If a tree is too large for you to remove, or if you do not have the necessary equipment, call Daniel’s Lawn Service and Pressure Washing. Our team of experts can safely remove any trees from your property. To learn more about our services, including land clearing and landscaping, contact us today. In our next blog post, we will continue the tree removal process, which includes stump and root removal. 

What is the Right Way to Do Residential Pressure Washing?

pressure washing service

What is the Right Way to Do Residential Pressure Washing?

When performing your regular home maintenance, consider when was the last time you cleaned the exterior of you home. As with any part of your home, proper upkeep is essential for longevity. Regular pressure washing is the best option for siding, driveways, sidewalks and more. Not only does it remove built-up dirt and grime that can be hazardous to your health, but it will boost curbside appeal of the property. Keep reading to learn how to properly power wash your home, including safety measures.

How to Protect Yourself

Improper use of a pressure washer puts you at risk for serious personal injury. Water at such a high pressure is powerful enough to tear off skin and even cause blindness. Playing with a pressure washer is no joke, and they should strictly be used for outdoor cleaning. Take the following precautions to avoid injuries.

  1. Wear proper protection - First and foremost, you need eye protection. High water pressure can fling dirt and debris in every direction, including your face. To prevent the washer from slipping out of your hands, you should also wear gloves that provide a solid grip.
  2. Take note of your surroundings - Any sources of electricity are a serious risk. Before you start pressure washing, close or cover outdoor outlets. Similarly, cover vents. Take stock of any overhead power lines. If you are using an extension wand, you should be very careful to avoid them.
  3. Never use a ladder - This common mistake can lead to injuries and fatalities. If you find it necessary to access a high area (as in the case of a two-story home), use scaffolding. Recoil from the washer is strong enough to pull you off a ladder, or pull a ladder over, even with someone holding the base. If you can’t rent scaffolding, hire a professional pressure washing service.
  4. Clean up the space - Any tripping hazards should be cleared prior to cleaning. This includes any toys, lawn furniture and/or vehicles.
  5. Check for lead and asbestos - Both of these materials can be found in homes built prior to the 1970s. Lead is a highly toxic metal that was used in paint. It can cause a range of health problems, such as damage to the brain and other vital organs, like the kidneys, nerves and blood. Exposure to asbestos can cause lung disease and lung cancer. Pressure washing can dislodge lead and asbestos, allowing them to be inhaled. If you are concerned that either may have been used in your home, contact a professional before power washing. Removing either substance is NOT a DIY job.

What You Will Need

There is nothing worse than starting a project, only to realize you have to run back to the store. Make sure you have all of the right tools and attachments to start pressure washing. To begin, you will have to choose a gas or electric powered pressure washer. Both will get the job done, but with a higher gallon per minute (GPM), gas will do the work faster.

For various tasks, you will also need a set of nozzles. One will be a soaping nozzle, used to apply a detergent. A detergent is necessary in order to remove dirt and grime without requiring excess water pressure that may cause damage. We recommend an environmentally safe option that is suited to the specific building materials of your home. The second nozzle should be a 24- or 45-degree tip for pressure washing. You can also purchase a brush attachment and extension wand. While these tools are not required, both can save you a little elbow grease.

When You Should Send in the Pros

An important part of home maintenance is knowing when to pass the job to a professional. One reason is when your safety is compromised. If you do not have all of the proper tools or equipment, you could easily cause injury or damage to your property. If you need more time to study up, our blog post – “Seven Mistakes to Avoid While Pressure Washing Your House” – covers the basics.

If you feel unsure of your DIY ability, call Daniel’s Lawn Service & Pressure Washing. From pressure washing to lawn service or maintenance, to landscape design, we handle it all! We have the experience and high-quality professional equipment, to ensure your home gets the proper attention it needs to hold up against the unpredictable Florida weather for years to come. Contact us today to schedule an appointment.

How to Add A Pond To Your Landscaping

Pond Landscaping

How to Add a Pond to Your Landscaping

There is something special about having a backyard pond, a sort of personal paradise. Whether you use your yard for entertaining or meditation, a pond only adds to the casual ambiance. Keep reading to learn about different types and how to DIY a pond in your garden. Hopefully, you will be inspired to bring your very own backyard pond ideas to life.

Why Would You Add a Pond?

Adding a pond provides many benefits to your property. The first being that it will decrease the amount of grass in your yard. This is a benefit when the maintenance necessary to upkeep a yard in Central Florida is relatively high. Whether you hire someone, or perform maintenance yourself, the cost or time required adds up quickly. A pond will also increase the appearance of your yard, and potentially your home’s value. Finally, a pond makes your yard an enjoyable place to spend time with friends and family. All in all, you have very little to lose, and a lot to gain!

Types of Landscaping Ponds

There are several types of landscaping ponds to choose from. Before selecting one, it is important that you understand the upkeep each type of pond requires. Then you can determine which type may best suit the size of your yard, as well as your personal style.

Natural Ponds - A pond formed by nature, and may or may not be home to fish and plants, is considered a natural pond. Natural ponds require little upkeep, and can be accentuated with fountains or aquatic plant life.

Plant Ponds - Instead of fish, some people prefer the color and lower maintenance of plants. Plant ponds provide a great way to add an eye-catching element to your landscape.

Koi Ponds - One of the most popular and beautiful types of ponds, koi ponds require attentive care and the establishment of a specific ecosystem. If you choose to have a koi pond, you will need special equipment to ensure that these relatively expensive fish are able to survive year ‘round.

Wildlife Ponds - If you want low-maintenance landscaping, a wildlife pond is perfect. It is meant to attract natural wildlife, and operate without any filters or pumps. The only requirement is that it be placed to receive plenty of sunlight. If you choose to add fish, you will also need plants that will provide them with oxygen.

Fish Ponds - This type of pond is a created feature. As it contains fish, it requires regular cleaning. Without a natural ecosystem, it will also need an air pump and filter in order for the fish to survive. There are various fish species you may choose to place in your pond, but they should be able to thrive in the environment established.

DIY Backyard Pond

Ready to learn how to build a small pond for fish, plants or wildlife in your yard? Once you have selected a type of pond for your landscaping, you should select a location to place it in your yard.

There are two ways to DIY a backyard pond; installing a flexible liner or installing a shell liner. Note that prior to starting any excavations, you must check for underground utilities. You can do so by calling 811.

Installing a flexible liner is carried out in just four steps. First, a hole must be dug and the interior inspected for sharp rocks, roots or stones that could tear the liner. Second, carefully place the liner into the hole, and be sure the edges are weighted down. Third, materials of your choice are placed at the bottom or sides of the pond before filling with water. Finally, the edges are cut and nailed into place before being covered with stones or masonry, and mortared in place. diy pond, landscapeing

Installing a shell liner requires a few more steps and attention to detail. To start, the shell must be turned upside-down to mark an outline before digging the hole. It should be dug to the exact form of the shell – including any shelves – for full support. Any sharp objects should be removed, before the entire space is covered with two to three inches of damp soil. Next, the shell should be placed and checked to ensure that it is level. Once confirmed, it can be filled with water.

At the same time, the exterior of the shell needs to be backfilled to match the water level to prevent it from bulging outwards. Lastly, the edge can be covered with rocks or plants, but do not place them directly on the fragile rim of the shell.

Once your pond is installed and you have added fish or plants, take caution when using any maintenance chemicals. You should always ensure that they are safe for people, plants and pets, including any wildlife that may come into contact with your pond.

Do you plan on installing a pond in your yard this year? If so, take pictures and be sure to tag Daniels Lawn Service and Pressure Washing on Facebook. In the event that you would rather sit back and watch the work be done, contact us. We are proud to provide backyard landscape designs that are perfect for entertaining or relaxation. Learn more about our services today!

Tropical Plants Perfect for Your Florida Landscape

Florida Tropical Plants


Tropical Plants Perfect for Your Florida Landscape


What is your first thought at the mention of our great state of Florida? For many, it is the acclaimed weather ‒ following Walt Disney World, that is. Known for abundant sunshine, and the less admired humidity, Central Florida is classified as a humid subtropical climate. South Florida is considered a true tropical climate, with vegetation that includes tropical rainforests, tropical monsoons and tropical savannas. The consistent weather pattern of wet and dry seasons is the reason our landscape consists of towering palm trees, and a variety of other tropical plants. Keep reading to learn which plants are suitable for a tropical climate, and how they can fit into your Florida landscape design.


What is a Tropical Plant?

To understand what plants will thrive in your Florida yard, you need to know what a tropical plant is. A tropical climate is typically hot and humid, with temperatures constantly exceeding 18 degrees Celsius, with zero frost days. A tropical plant is one that grows and thrives naturally in this climate, which resembles the environment of a region known as the tropics ‒ the region of the Earth surrounding the Equator. Contrary to what many people expect, these plants do not do well in direct sunlight. Whether blooming or foliage plants, they tend to fare better in shade.


Choosing Weather-Tolerant Plants

While susceptible to direct sunlight, tropical plants are surprisingly resilient against other extreme weather conditions. This is important for Florida homeowners during periods of extended drought, or the annual hurricane season. In rare scenarios, there may also be water-use restrictions in place. If you do not select weather-tolerant plants, you may find yourself investing in new landscaping on a yearly basis.


Consider the following plants for your Florida yard:

Firebush - This easy-to-grow shrub is extremely colorful and produces yellow and orange flowers. Popular among butterflies and hummingbirds, these plants thrive in garden beds or containers.

Beautyberry - Growing from 5- to 9-feet tall, beautyberry produces delicate lavender flowers and clusters of highly decorative purple berries in late summer and fall. This shrub prefers well-drained soil and full sun, or light shade.

Blanket Flower - A Florida native plant, blanket flowers are drought-resistant and salt-tolerant. These bright red and gold flowers bloom in the summer, and produce a nectar that attracts butterflies.

Buttonwood - A simple, leafy plant, buttonwood is often used as a hedge, an accent or a small tree.

Saw Palmetto - Especially great for areas that are exposed to high levels of salt, this palm grows 4- to 12-feet tall, with fan-shaped leaves that may be 1½ - to 2-feet across. It can thrive in both sun or shade.


Tropical Landscape Design

While the most obvious perk of featuring tropical plants in your landscape design is the casual atmosphere, there are numerous advantages one being the reduction in lawn size and grass. Less grass means less space to maintain, and a cutback on water usage. It will also produce less waste, and reduces air and noise pollution. Unsure of where to start? Check out the Florida-friendly Plant Database for landscape plant ideas. It will assist you in narrowing down specific types of plants suited to your region, while taking your personal preferences into account.

Prefer an experienced landscaper who knows the lay of the land? Call Daniels Lawn Service and Pressure Washing. We can design the optimal space for entertaining your friends and family, customized to your lifestyle and interests ‒ such as a lush garden that attracts birds, butterflies and other beneficial insects ‒ and allows you to relax and reflect.
Utilizing native plants is a fantastic way to enhance the natural beauty of your Florida lawn, as well as increase its property value. Contact us today to learn more, or to schedule an appointment.

Call Now Button